

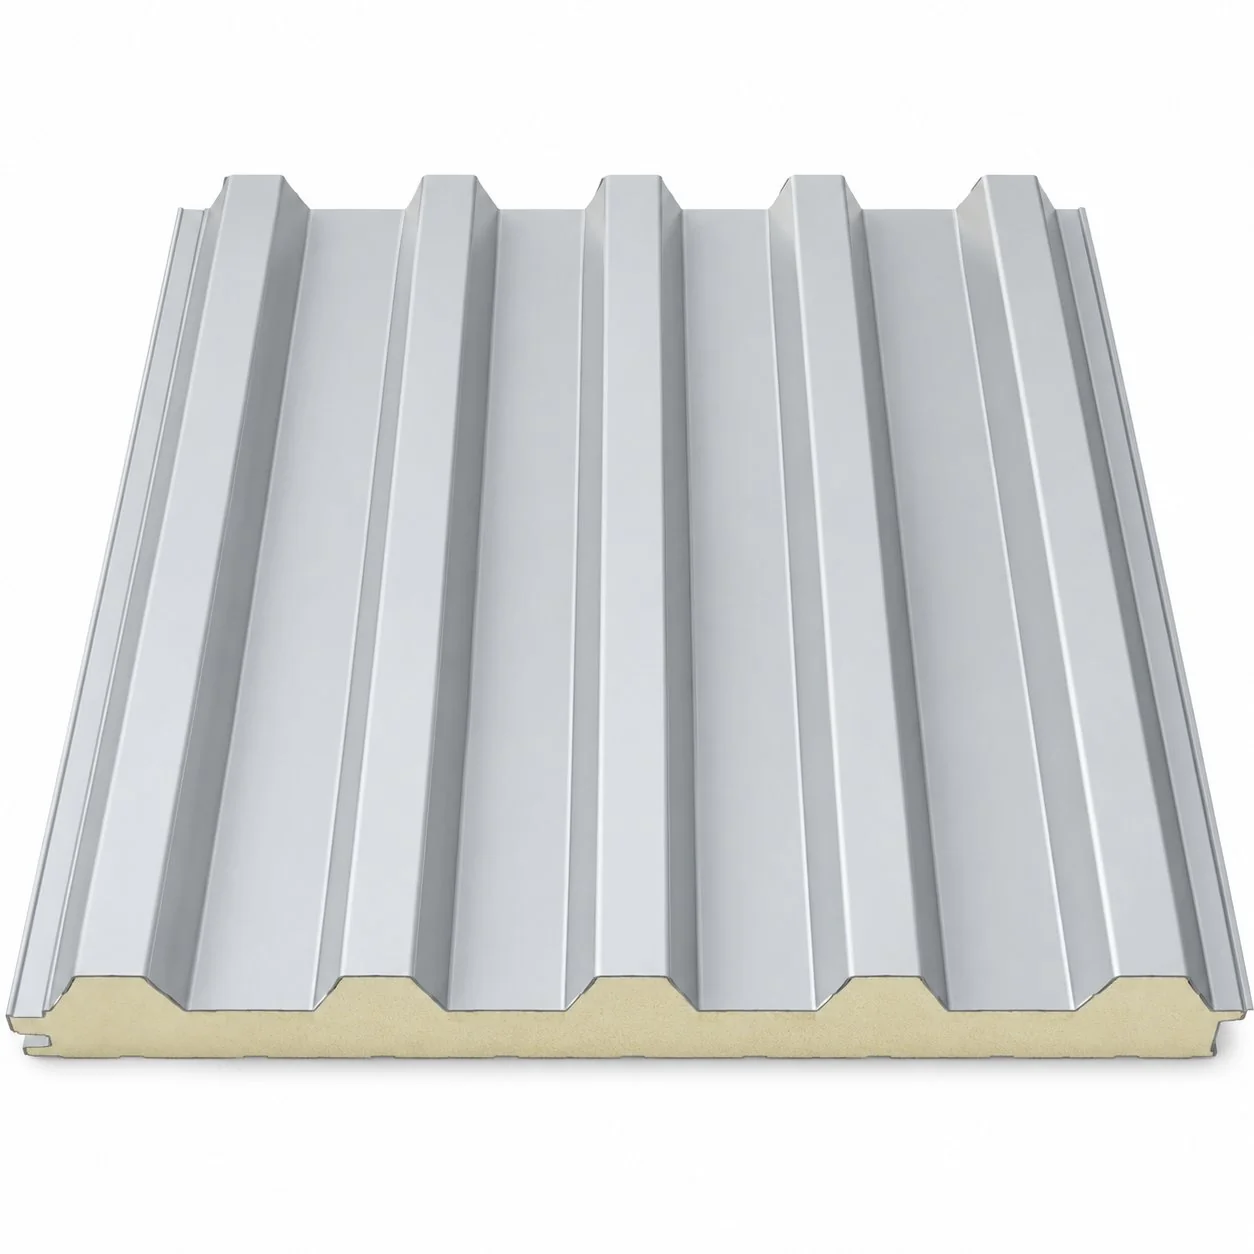
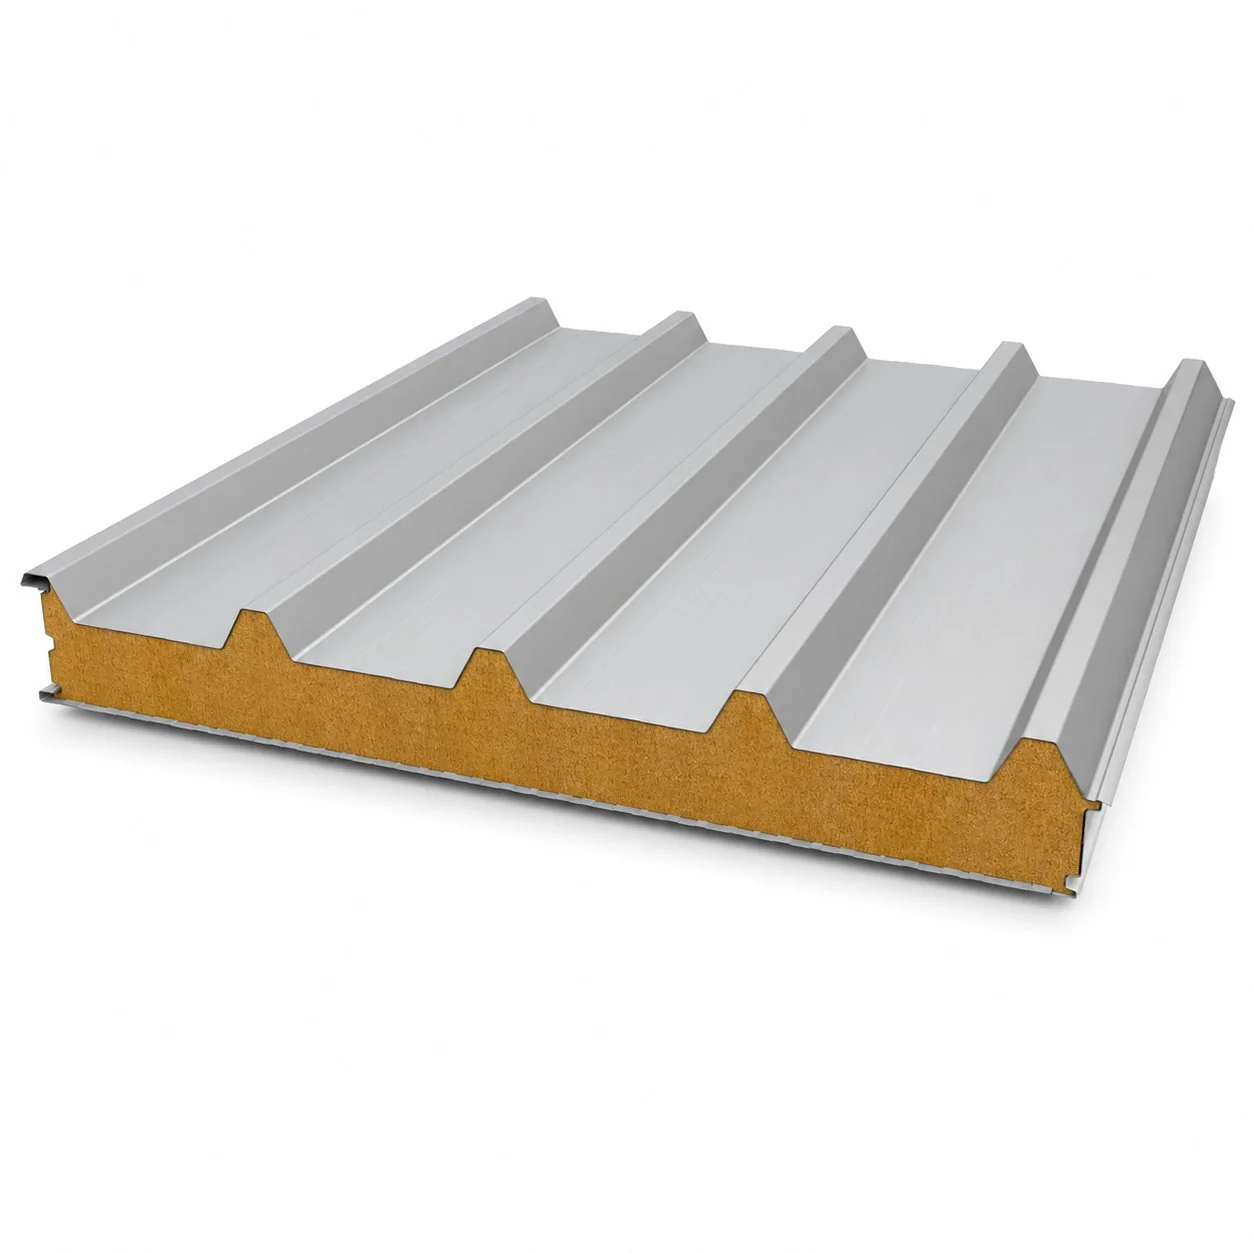
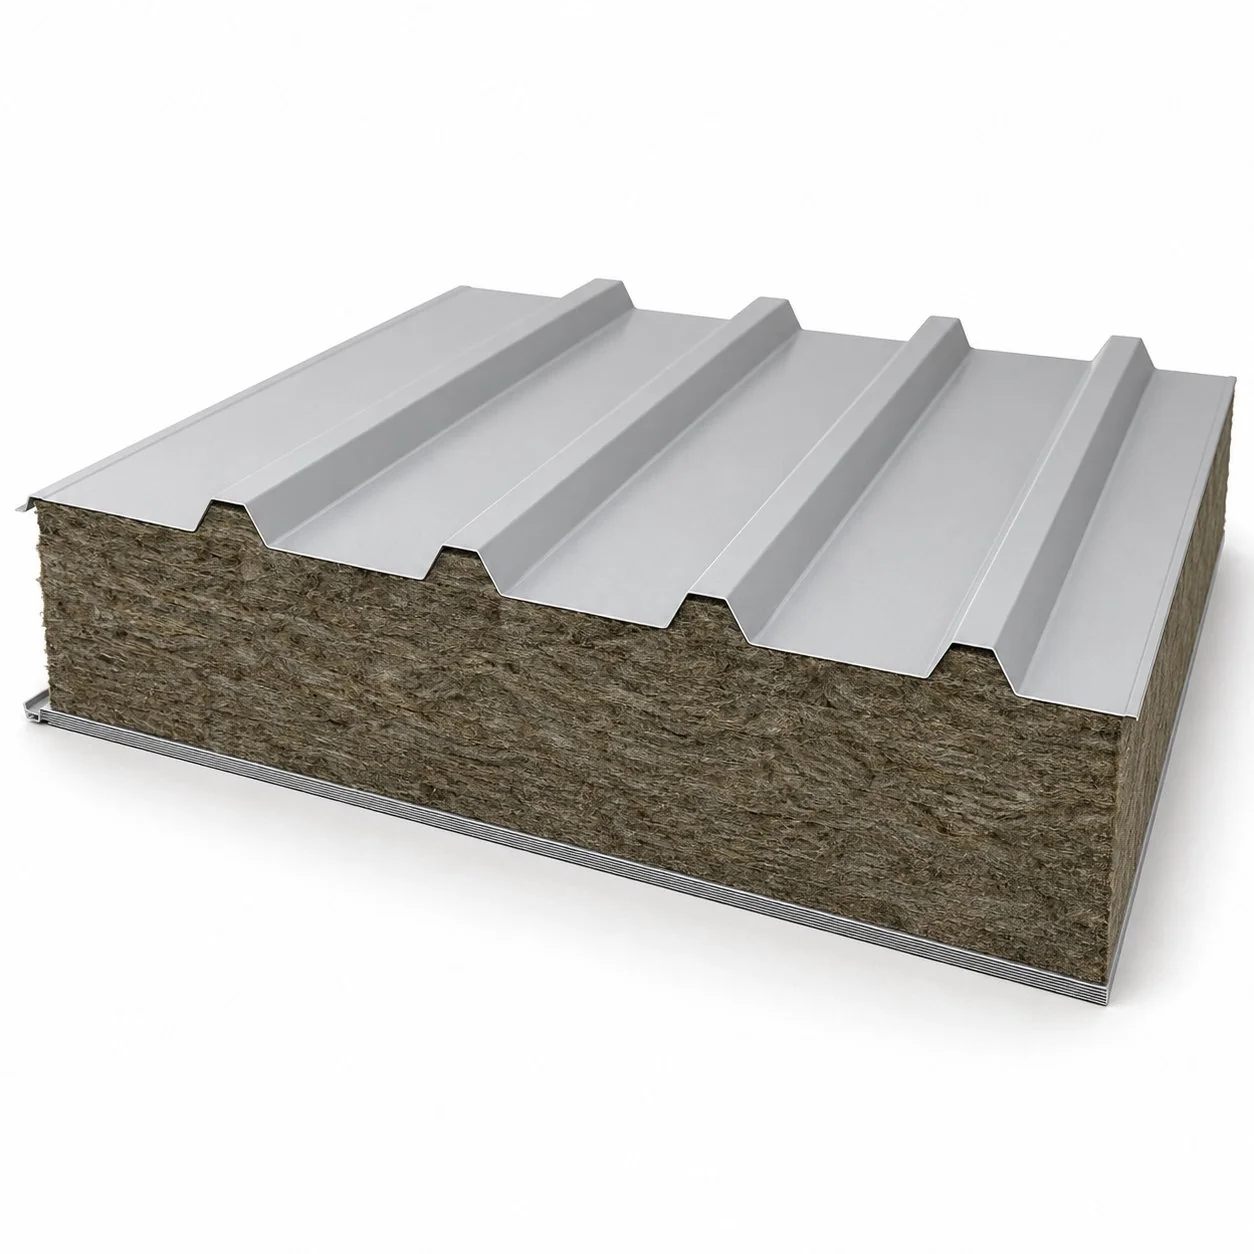
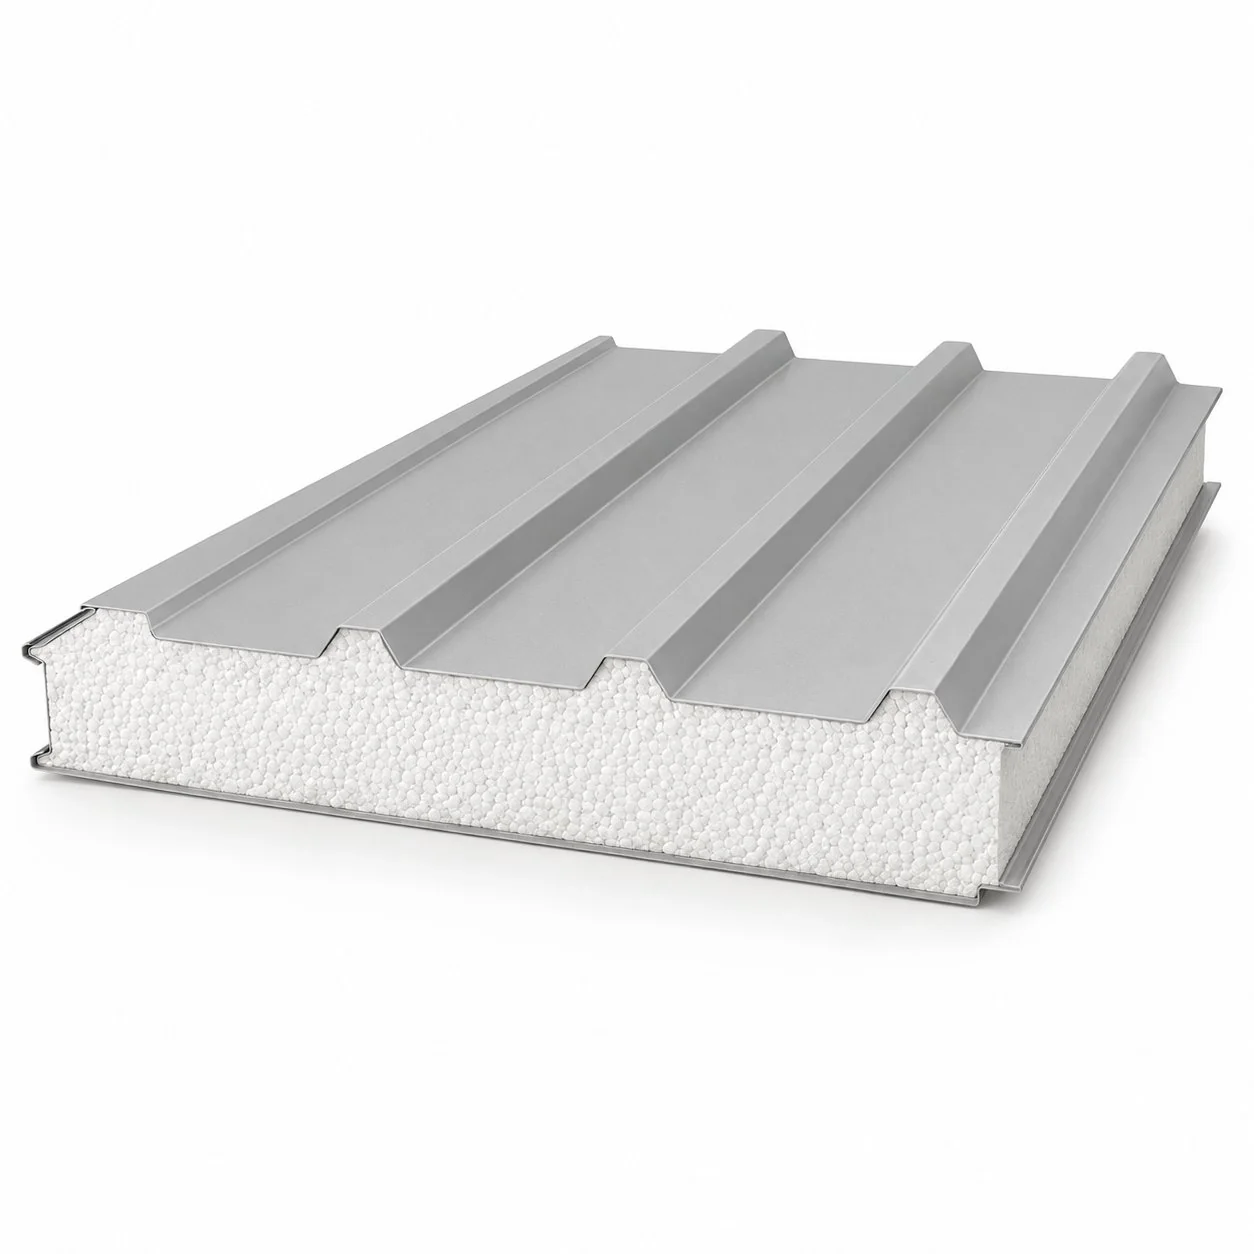
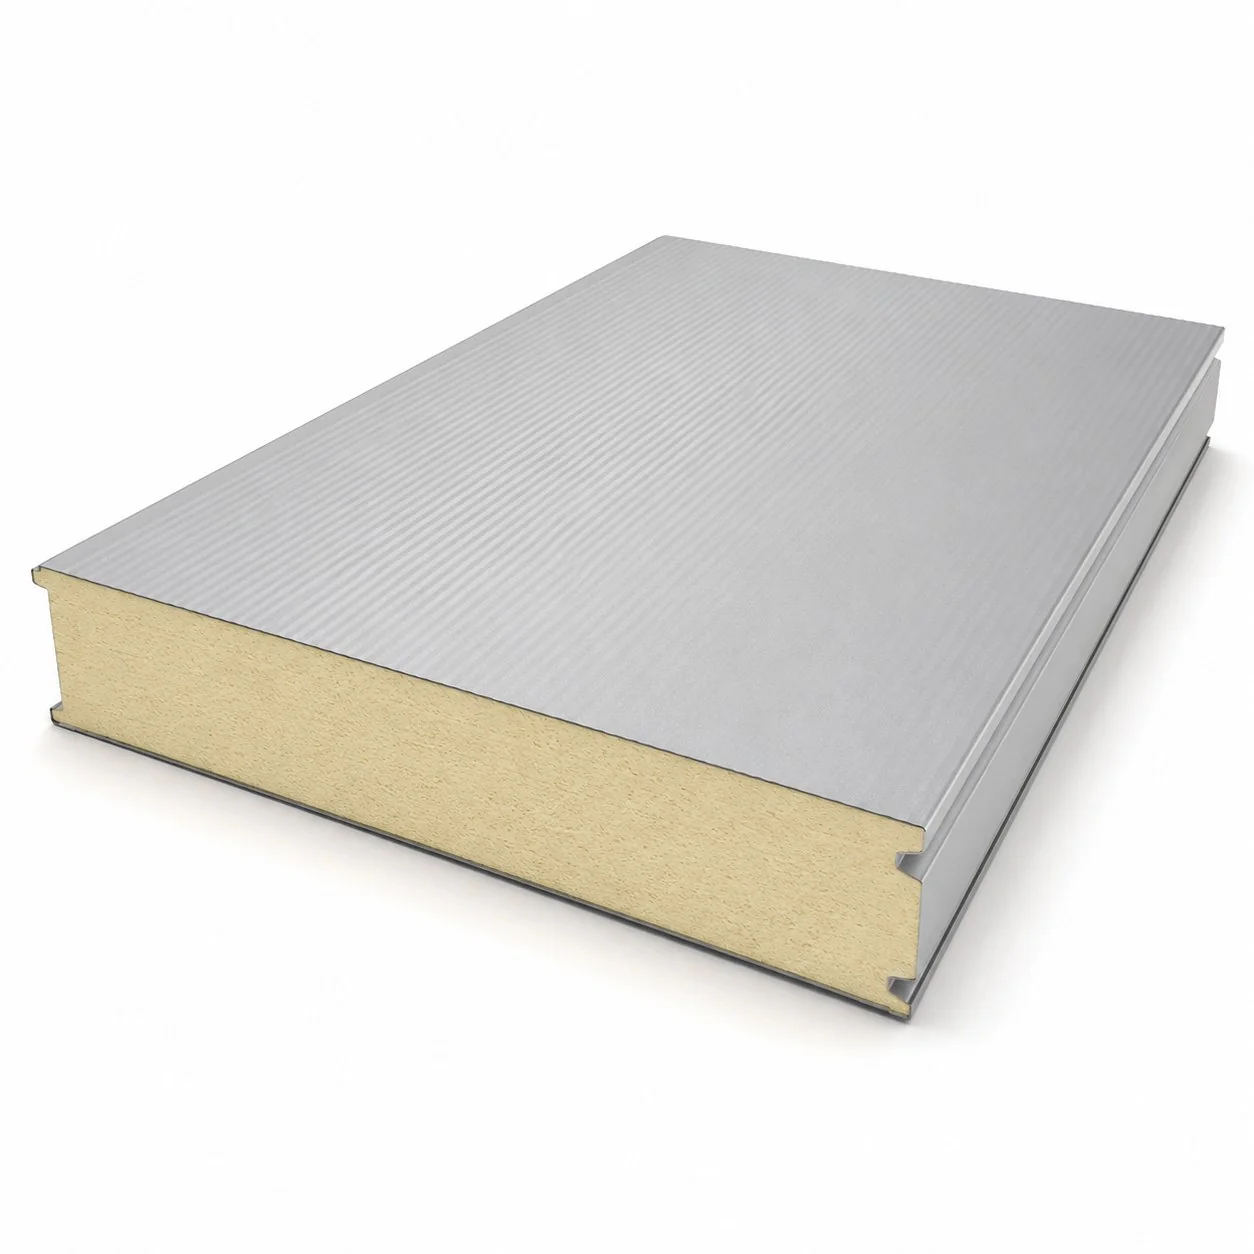
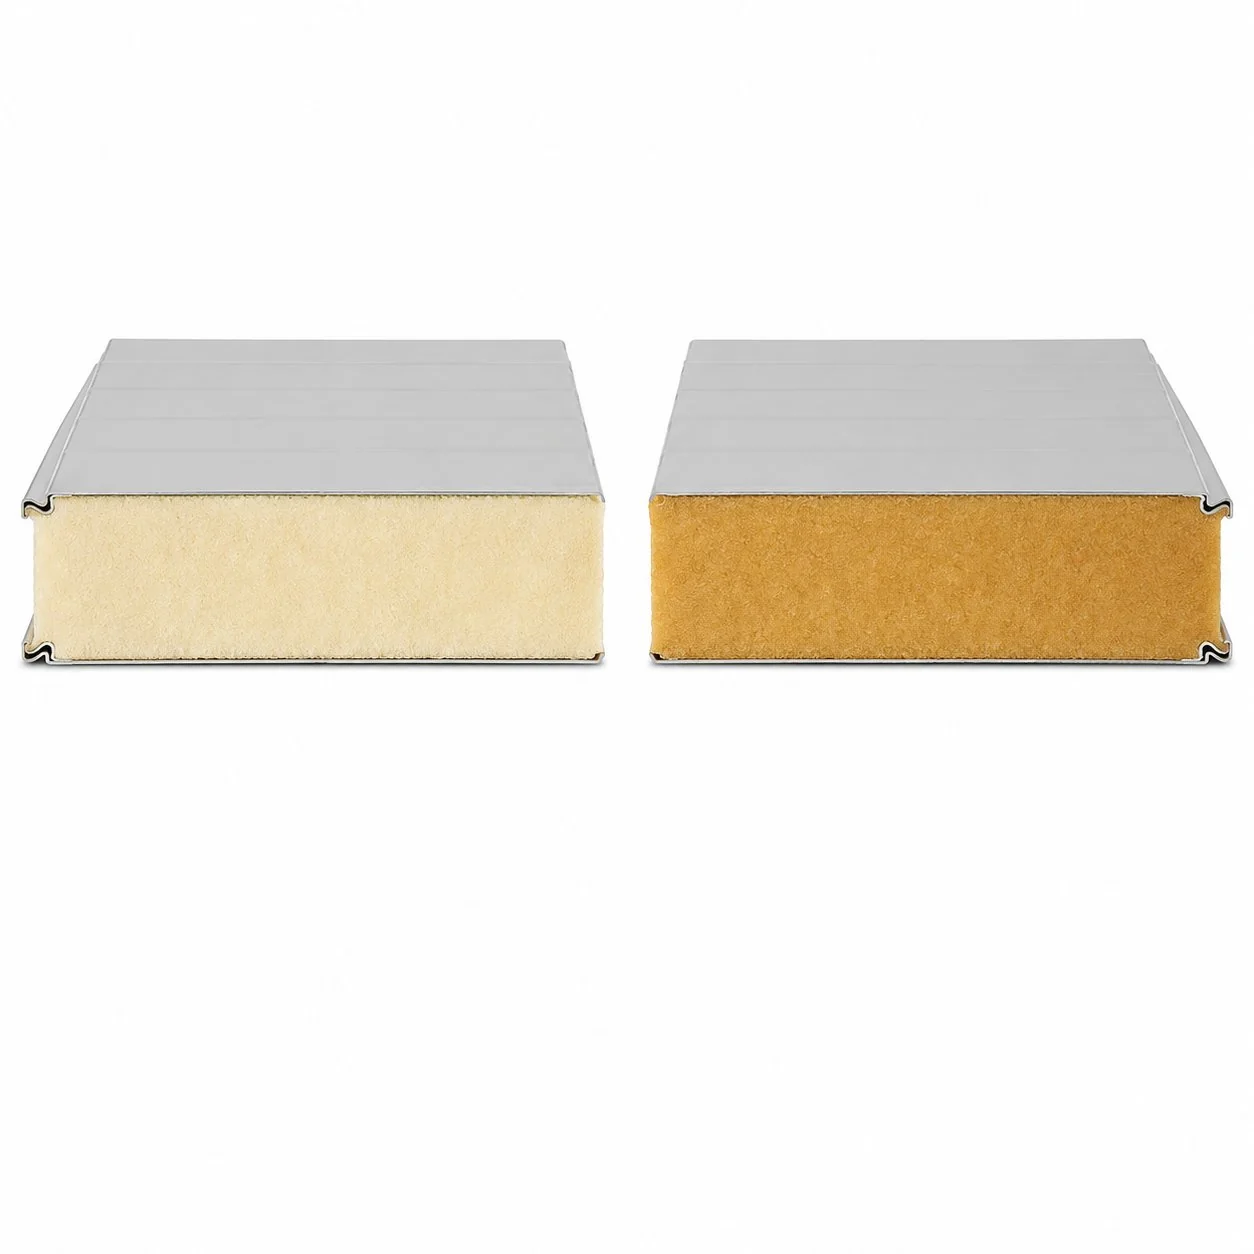
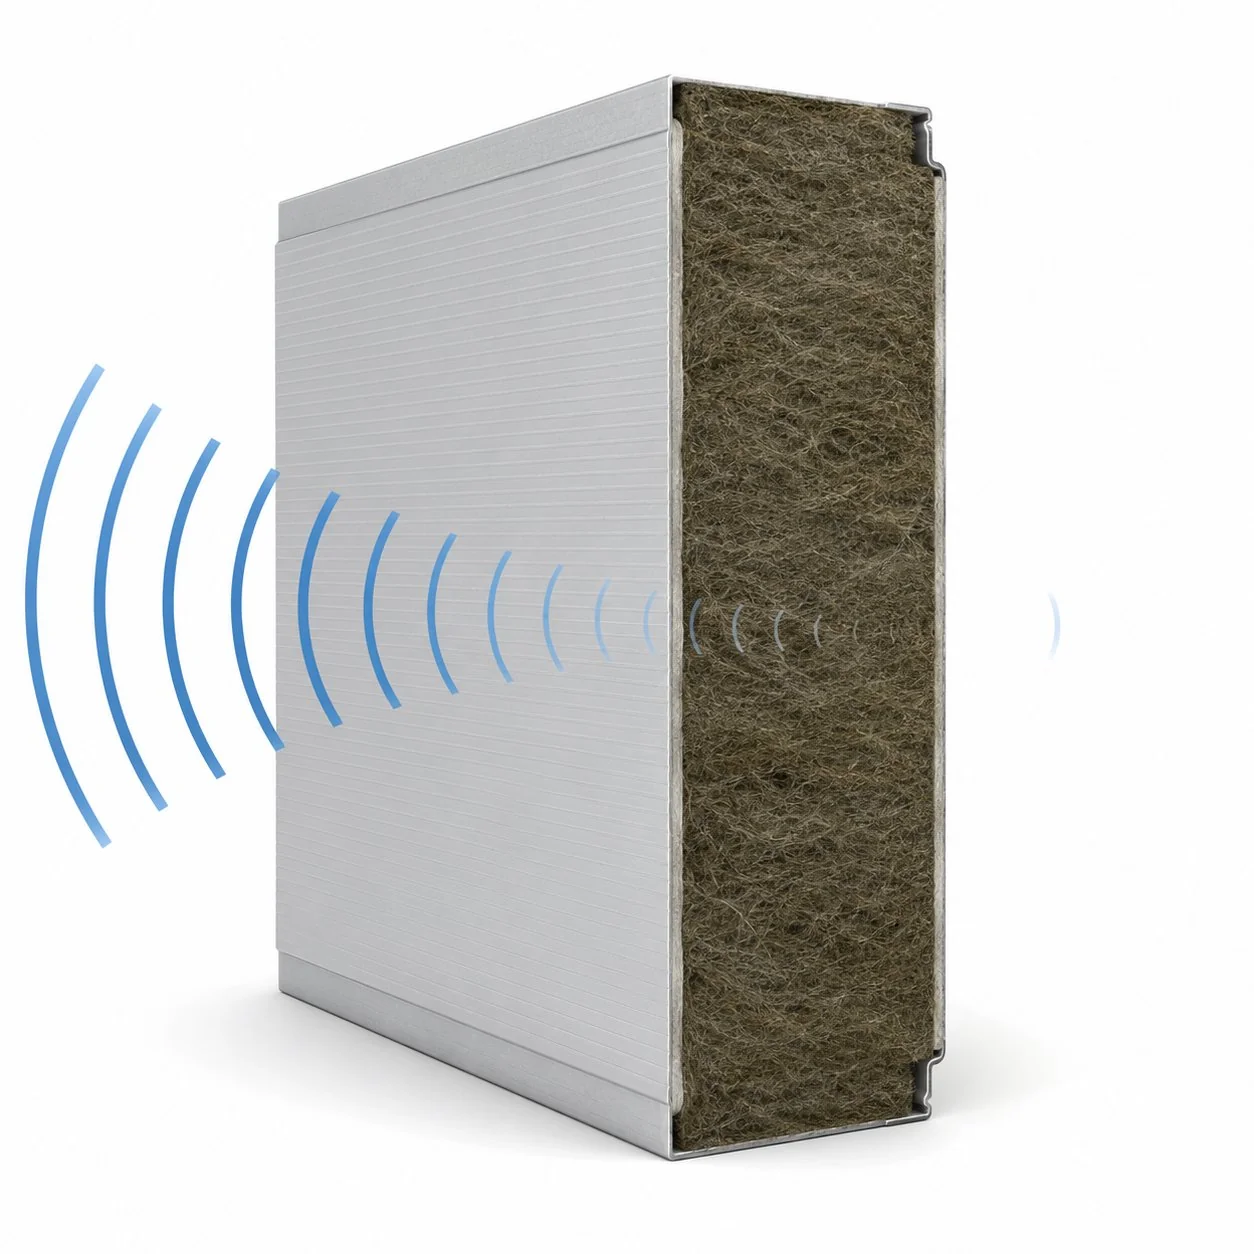
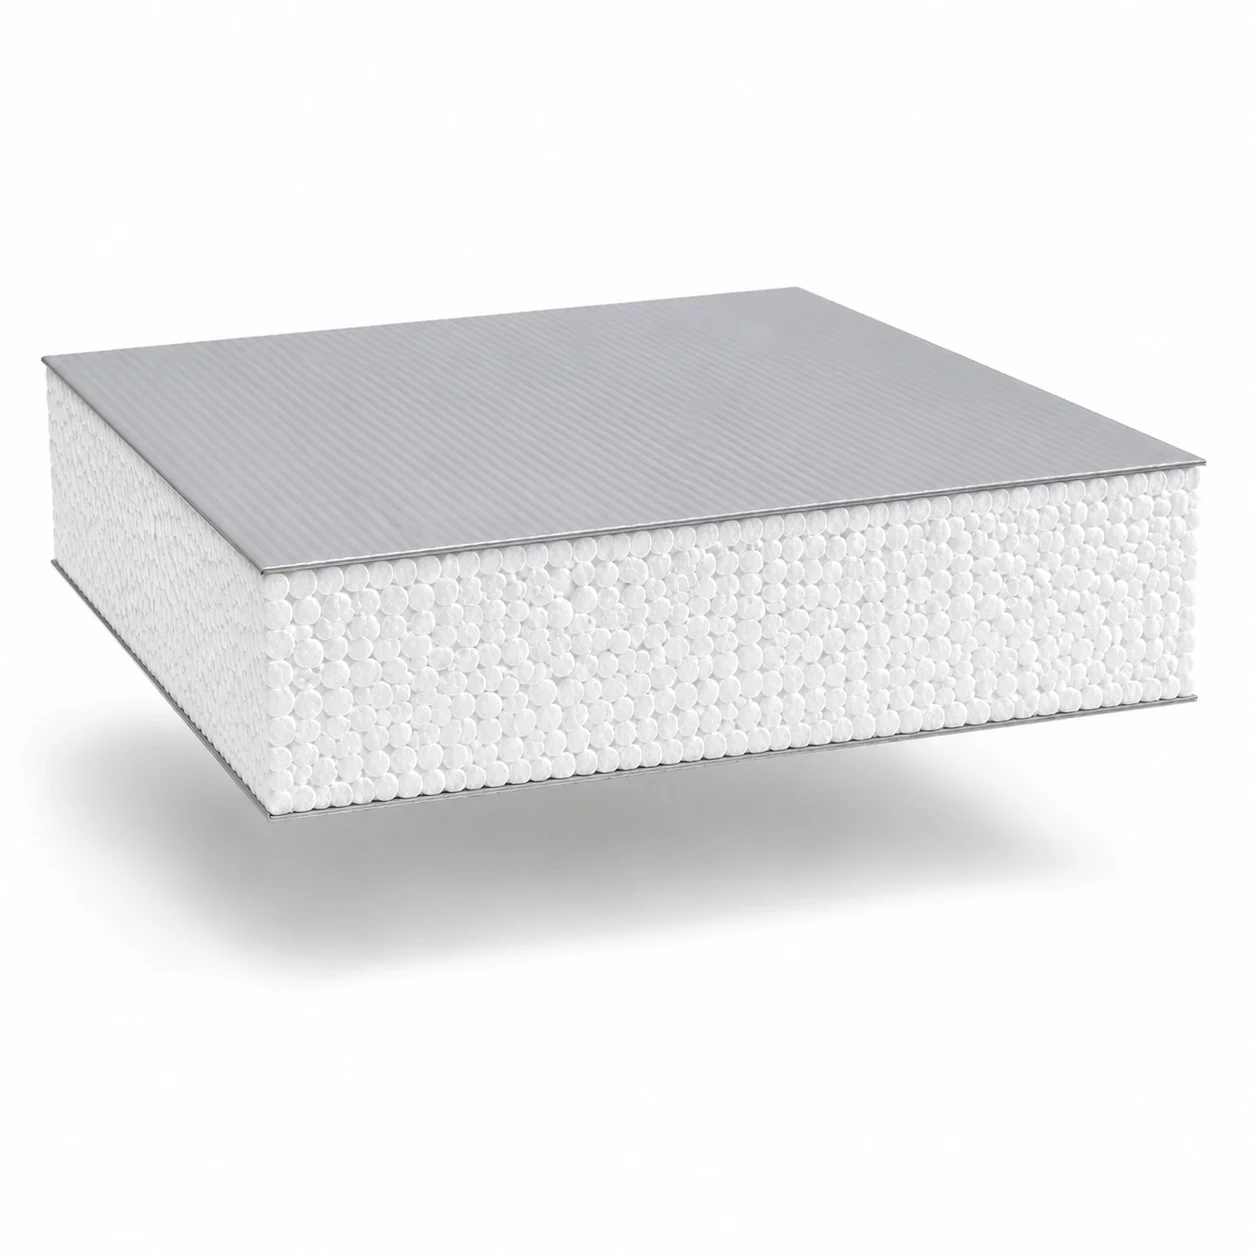
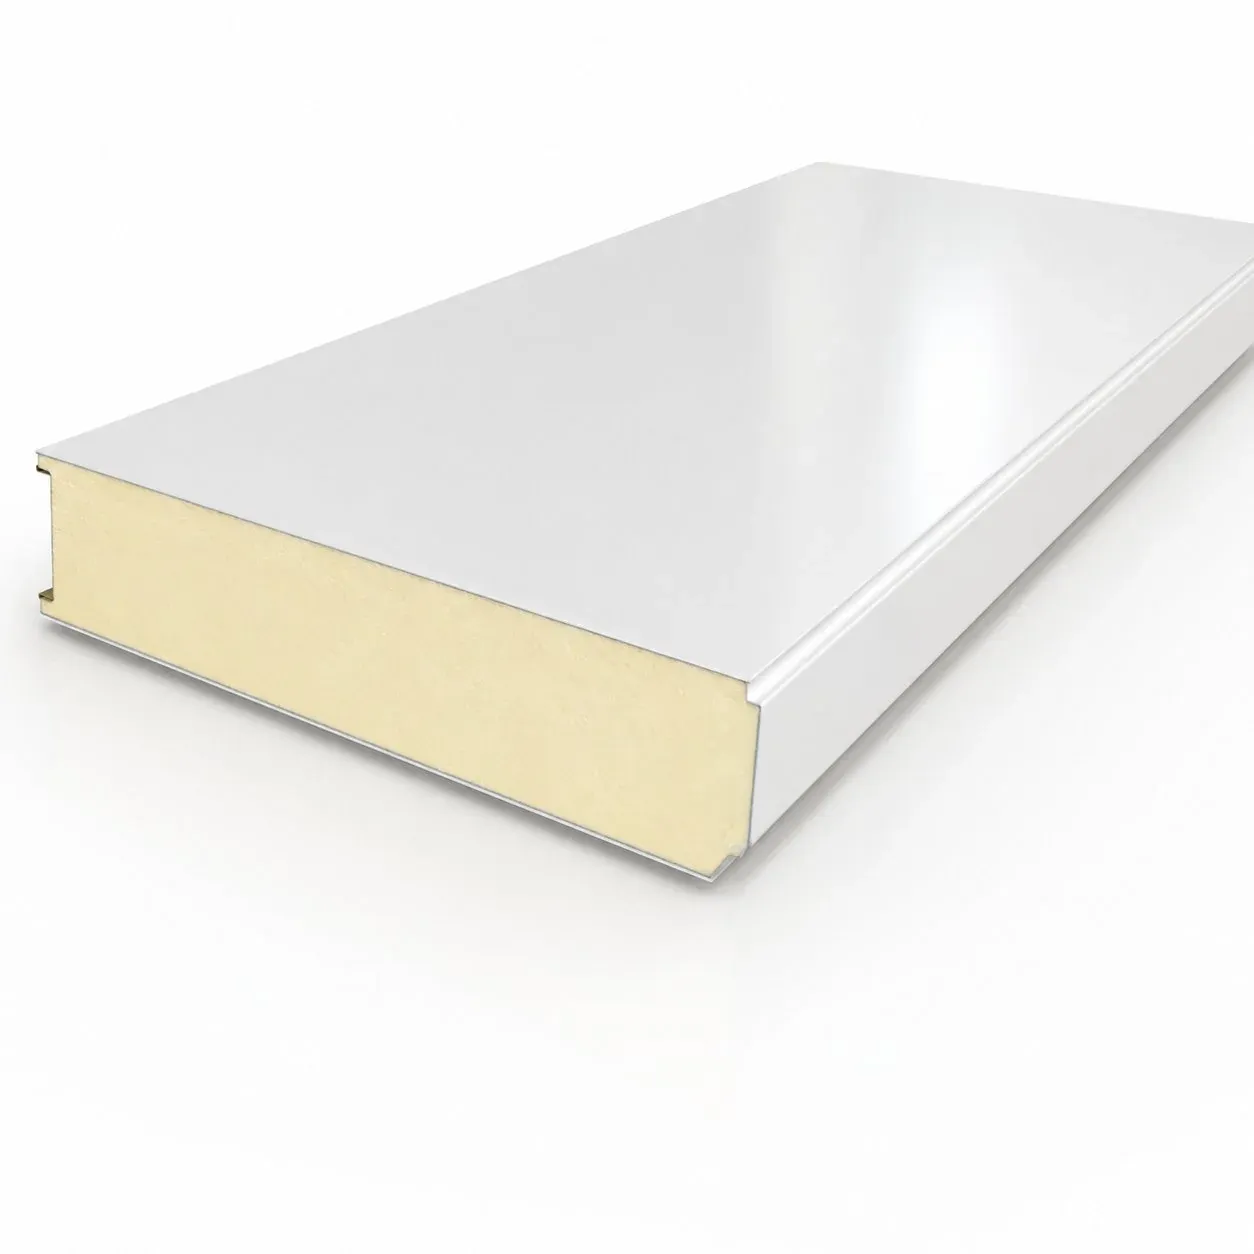
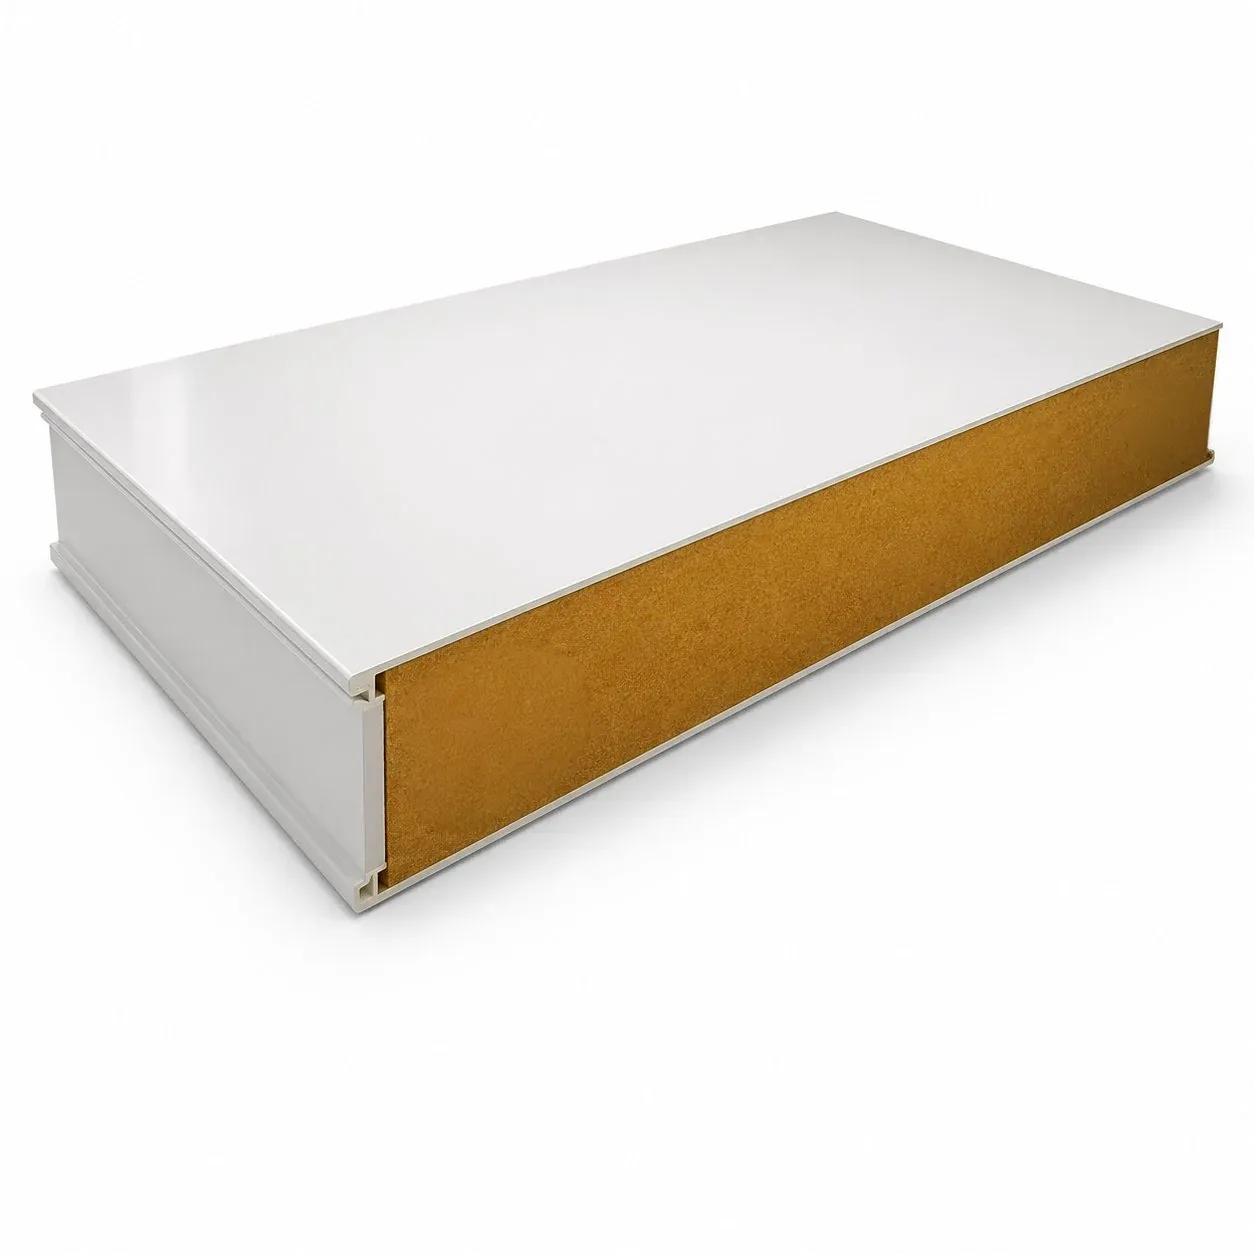
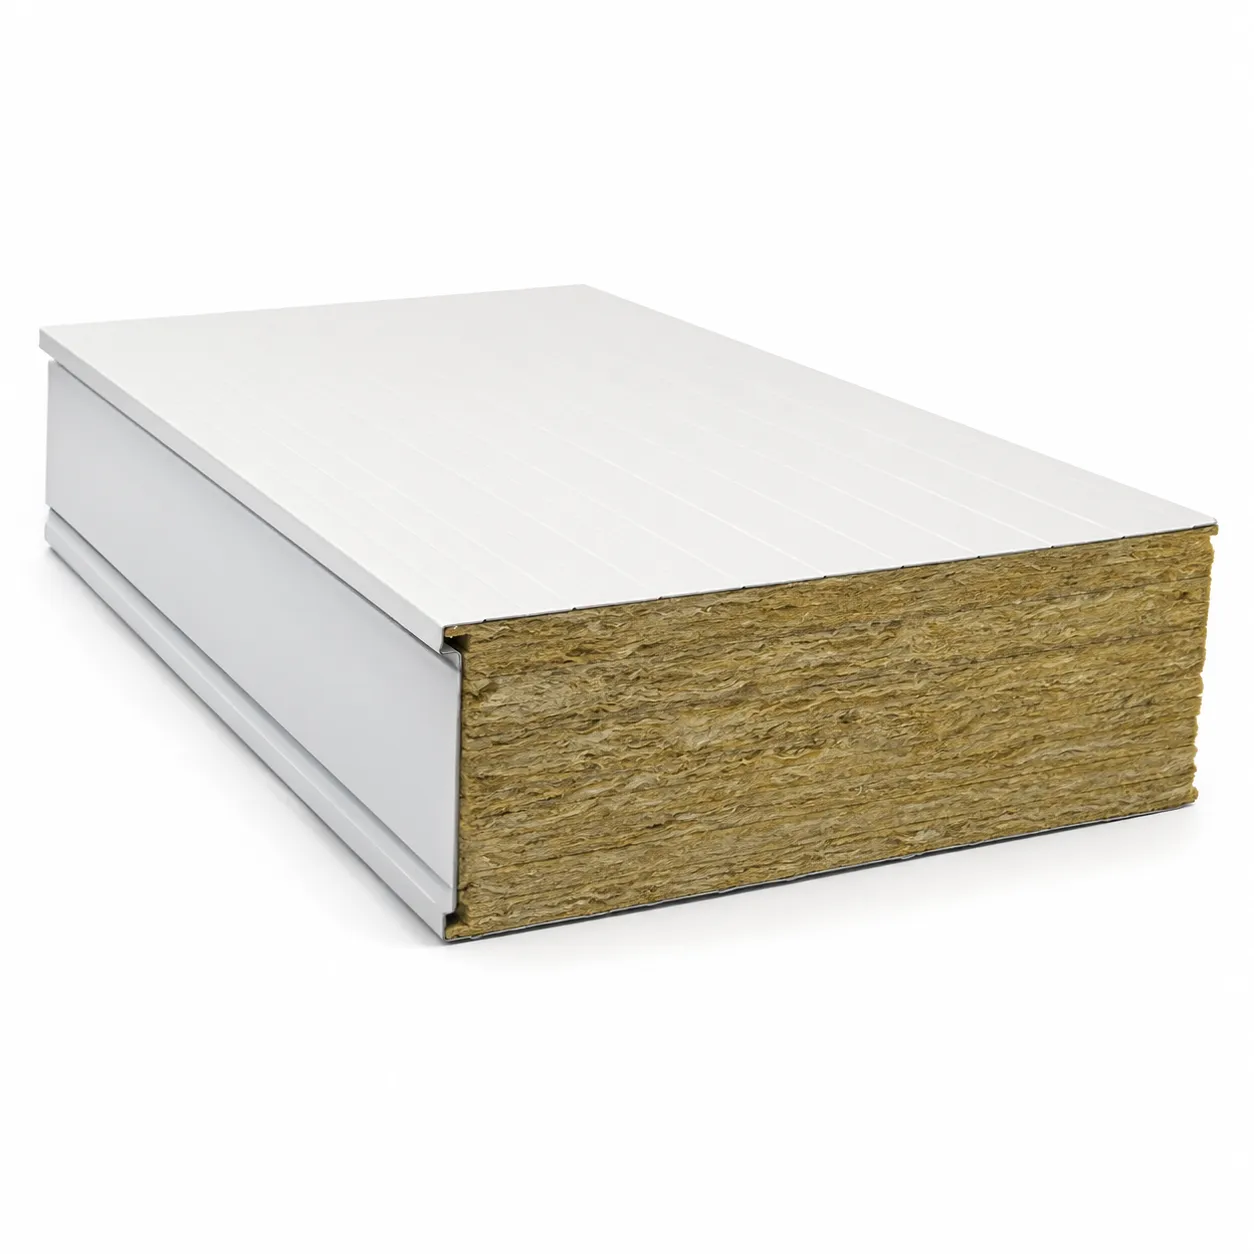
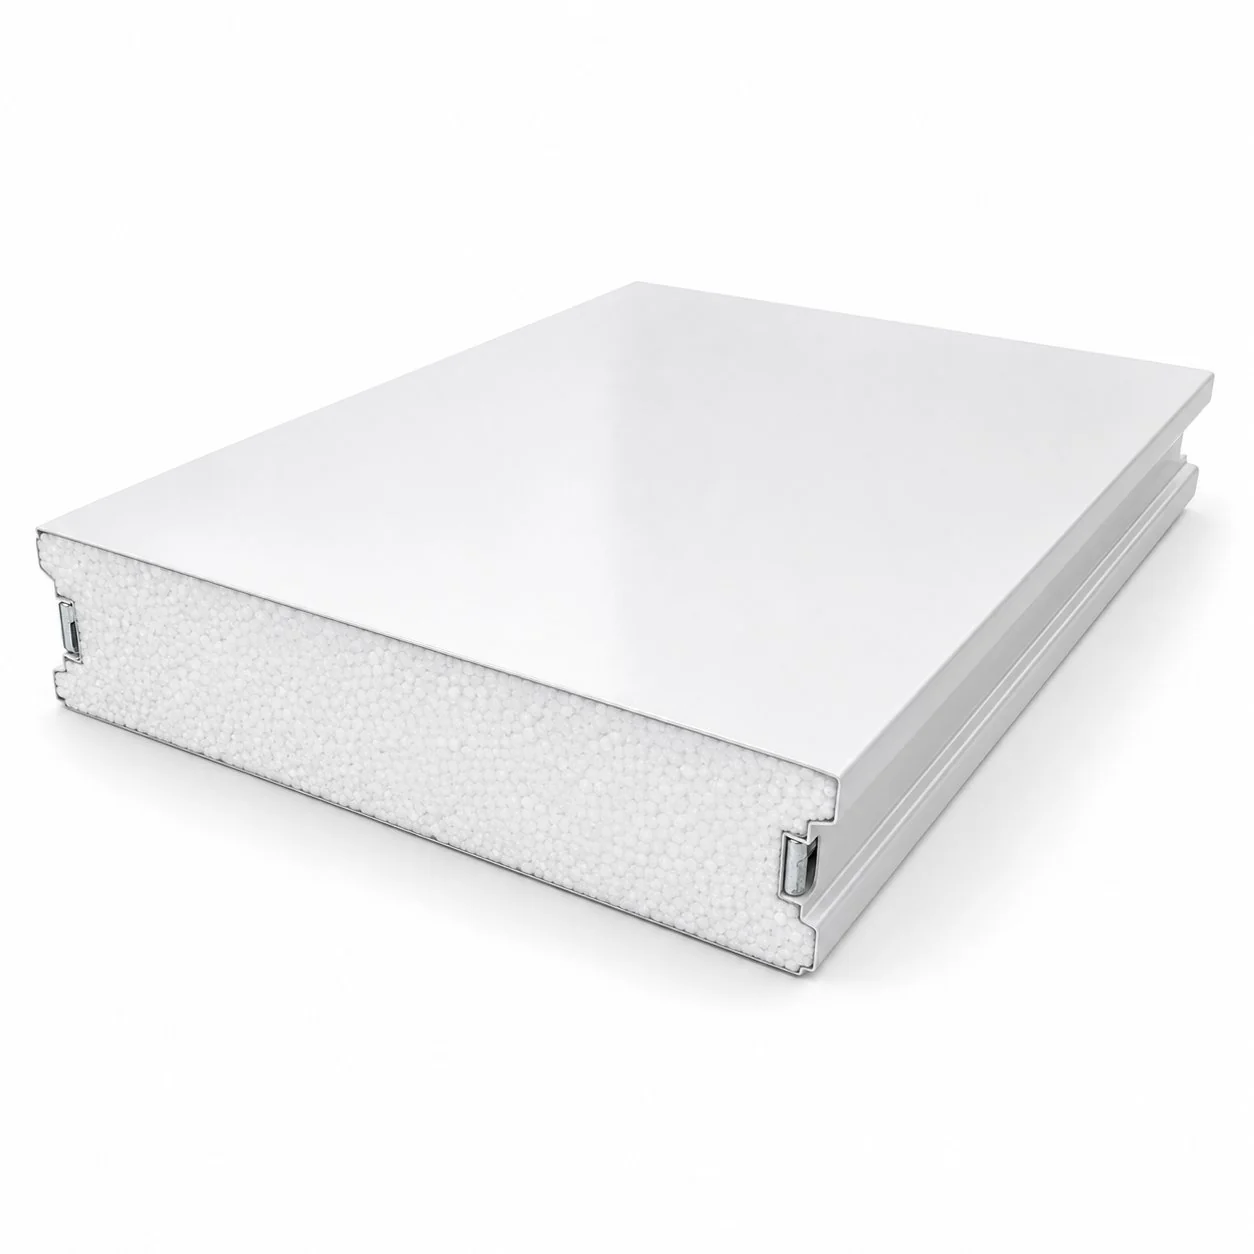
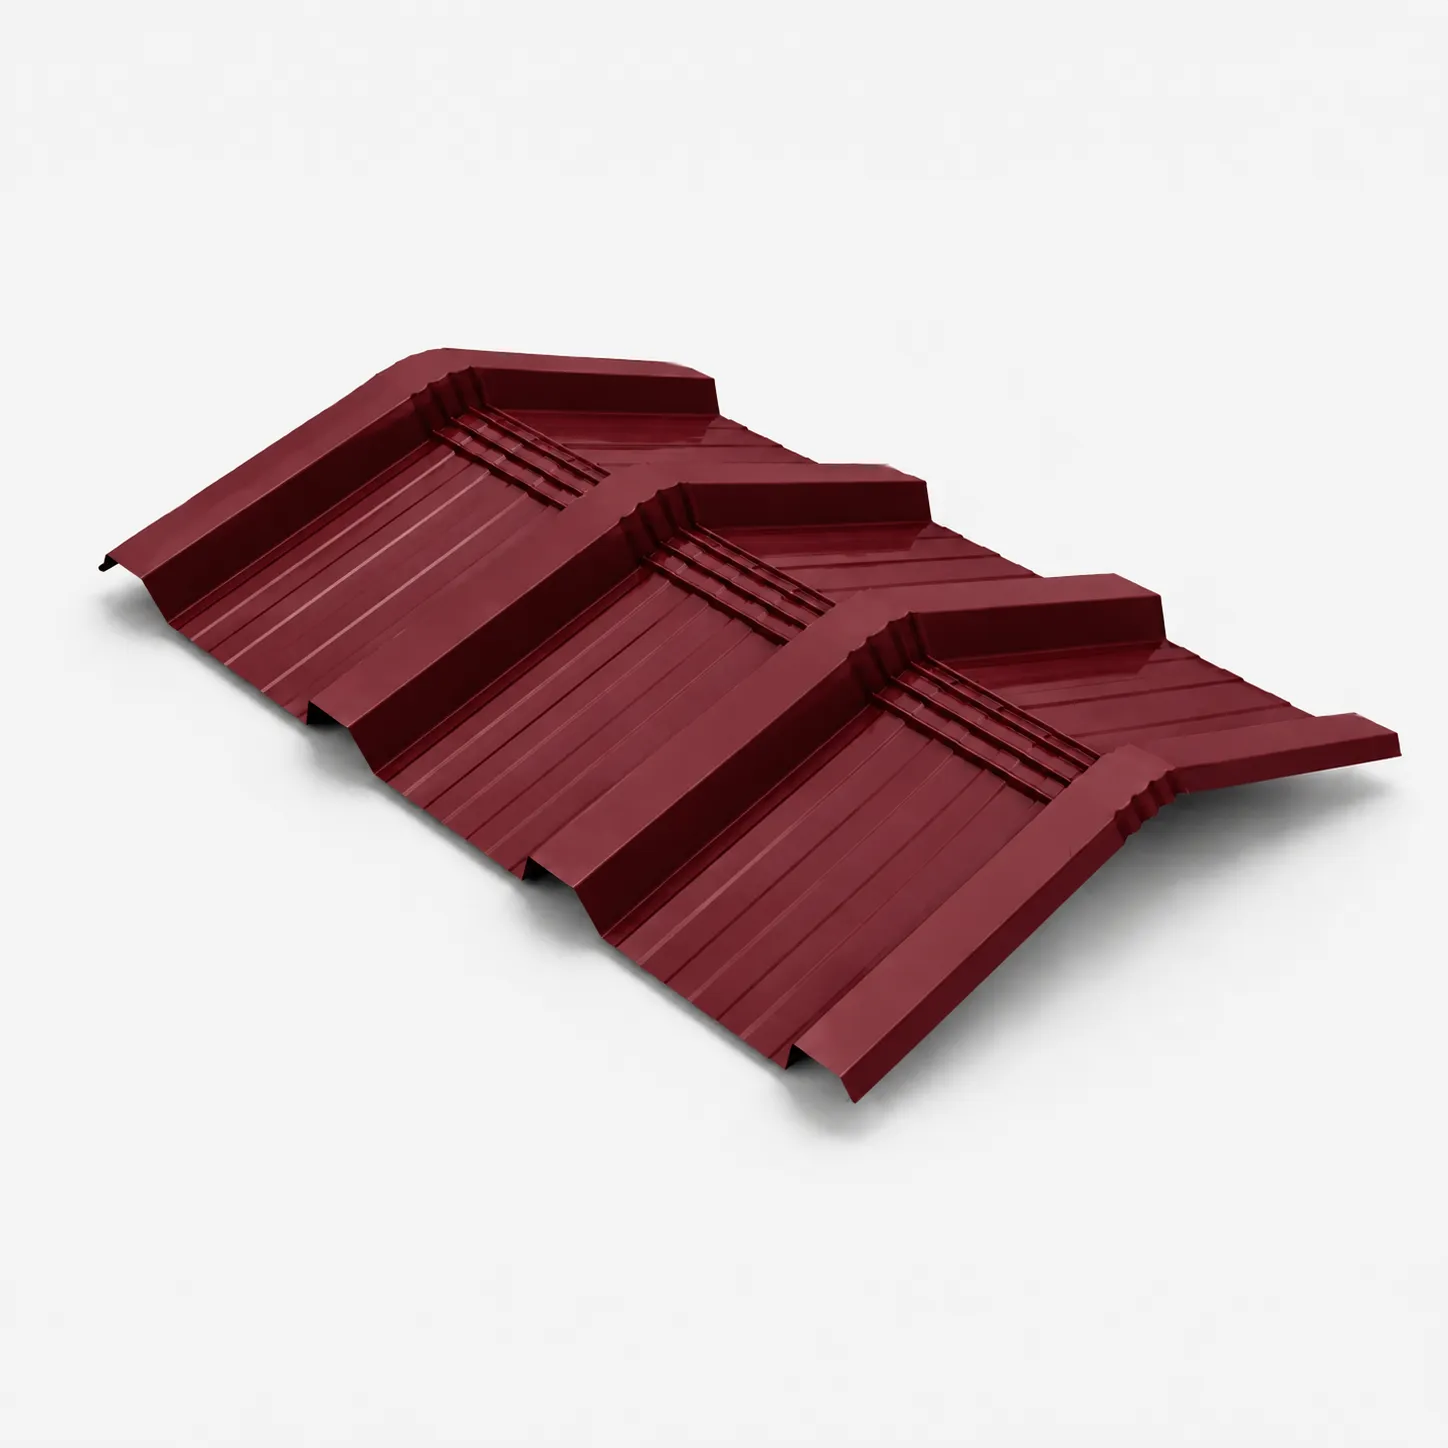

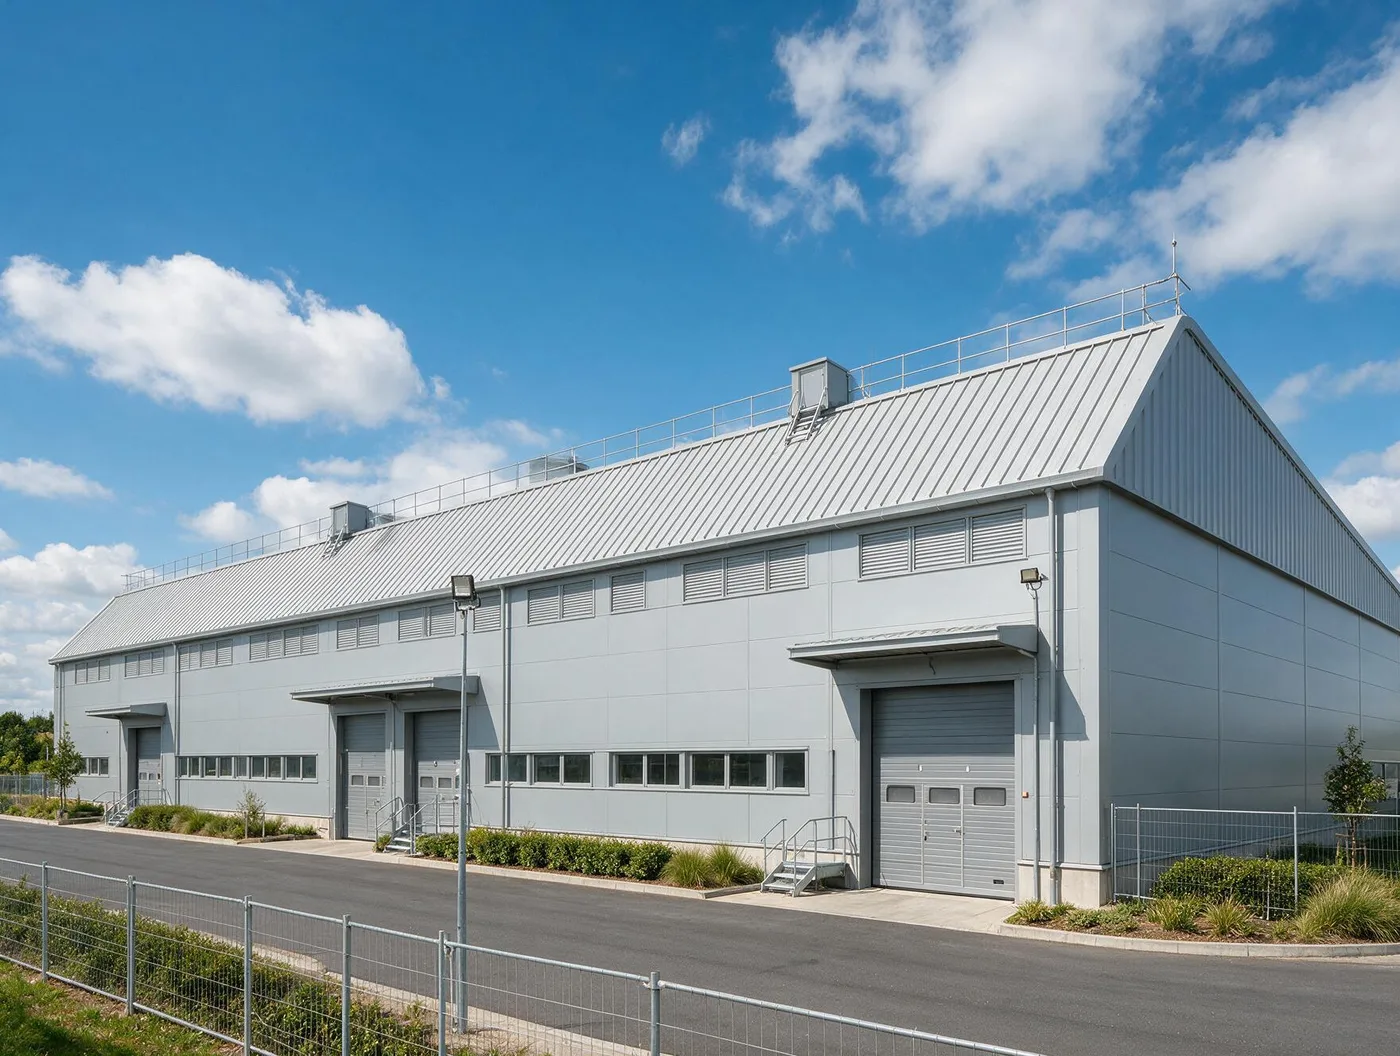
Sandwich panel installation quality determines whether a building performs as designed or suffers from air leaks, water ingress, thermal bridging, and premature degradation. The best panels in the world underperform if installed incorrectly. This sandwich panel installation guide covers the complete facade cladding process in 10 sequential steps — from site preparation through to final inspection — giving contractors, site supervisors, and project managers the knowledge to achieve a professional result every time.
This guide focuses on facade (wall) panel installation. Roof panel and cold room panel installation have additional considerations covered in our detailed installation manuals. All sandwich panel installation follows the principles of the European standard EN 14509 and manufacturer recommendations.
On this page:
- Before you start — tools & safety
- Step 1: Site preparation & steel structure check
- Step 2: Setting out — the first panel position
- Step 3: Installing the base flashing
- Step 4: Lifting & positioning the first panel
- Step 5: Fixing the panel to the structure
- Step 6: Installing subsequent panels — the joint
- Step 7: Openings — doors & windows
- Step 8: Corner, eave & ridge flashings
- Step 9: Sealant & final weatherproofing
- Step 10: Inspection & handover
- Common mistakes to avoid
- Frequently asked questions
Before you start — tools & safety
Every successful sandwich panel installation begins with preparation. Before the first panel is lifted, ensure you have the essential tools:
| Tool | Purpose |
|---|---|
| Cordless drill/driver | Fixing screws — use variable speed and clutch to avoid over-driving |
| Self-drilling screws | Panel-to-structure fixings with EPDM sealing washers |
| Spirit level (1200mm+) | Checking plumb and level of every panel |
| Measuring tape (8m+) | Dimensional checks and setting out |
| Chalk line | Marking alignment reference lines on the structure |
| Panel lifter / vacuum cups | Safe handling of panels — never use hooks through the panel face |
| Circular saw (metal blade) | Cutting panels to length — NOT an angle grinder |
| Nibbler or jigsaw | Cutting openings for doors and windows |
| Sealant gun | Applying butyl or silicone sealant to joints and flashings |
| Rivet gun | Fixing flashings (blind rivets with EPDM washers) |
| PPE | Hard hat, safety glasses, cut-resistant gloves, steel-toe boots, harness for height work |
⚠️ Never use an angle grinder to cut sandwich panels. The grinding sparks burn the panel coating, embed hot metal particles in the surface, and create rust spots. Always use a circular saw with a fine-tooth metal-cutting blade, a nibbler, or a jigsaw.
Safety requirements:
- Working at height: Scaffolding, cherry pickers, or safety harness systems for any work above 2 meters.
- Panel weight: Panels are heavy — a 6m × 1m × 100mm PUR panel weighs ~72 kg. Use mechanical lifting. Never carry panels manually in windy conditions.
- Sharp edges: Steel panel edges are razor-sharp. Cut-resistant gloves are mandatory for handling.
- Weather: Do not install in rain, strong wind (>25 km/h), or below 5°C (sealant performance is affected).
Step 1: Site preparation & steel structure check
The steel structure must be ready before sandwich panel installation begins. Check:
- Structural alignment: Are purlins/girts straight, level, and at the correct spacing for the specified panel span? A crooked purlin creates a crooked panel line that cannot be fixed later.
- Spacing tolerance: Purlin center-to-center spacing must be within ±5 mm of the design dimension. Panels are manufactured to span specific distances — if purlins are wrong, panels will not sit correctly.
- Surface preparation: Purlins must be clean, dry, and free of rust scale at fixing positions.
- Datum line: Establish a level datum line around the building at the base panel position. This is the reference for everything that follows in the sandwich panel installation.
Step 2: Setting out — the first panel position
The first panel sets the alignment for every panel that follows. This is the most critical step in any sandwich panel installation guide:
- Start corner: Begin at the downwind corner (prevailing wind blows from installed panels TOWARD uninstalled area). This ensures side-lap joints shed water correctly.
- Plumb check: The first panel must be perfectly vertical (plumb). Check with a 1200mm spirit level on the panel face. Even 2 mm off-plumb at the bottom compounds to visible misalignment over multiple panels.
- Level check: The base of the first panel must sit on the datum line established in Step 1.
Step 3: Installing the base flashing
The base (sill) flashing seals the gap between the bottom of the panel and the foundation/floor slab. In correct sandwich panel installation, the base flashing is installed BEFORE the panels:
- Flashing profile: Z-shaped or L-shaped color-matched steel flashing fixed to the structure at the base.
- Sealant: A continuous bead of butyl sealant along the top edge of the flashing where the panel will sit.
- DPC tape: Where panels contact concrete, a damp-proof course tape prevents moisture wicking into the panel edge.
Base flashings and all accessories are available from our accessories range.
Step 4: Lifting & positioning the first panel
Panel handling during sandwich panel installation requires care:
- Lifting method: Vacuum lifters, panel clamps, or soft fabric slings. NEVER pierce the panel with hooks or chains.
- Orientation: The tongue (male) edge faces the direction of installation progression. The groove (female) edge receives the next panel.
- Positioning: Slide the panel onto the base flashing, engaging the base sealant bead. Press firmly to the structure. Plumb-check immediately before fixing.
- Temporary support: Hold the panel in position with temporary clamps until permanently fixed. Do not rely on gravity alone.
⚠️ Protect panel surfaces during handling. Scratches through the coating expose bare steel to corrosion. If the protective film is still on the panels, leave it in place during installation and remove within 30 days.
Step 5: Fixing the panel to the structure
Sandwich panel installation fixing is done with self-drilling screws through the panel into the steel purlin/girt:
- Screw type: Self-drilling, self-tapping screws with EPDM sealing washer. Length must penetrate the purlin by minimum 15 mm.
- Fixing pattern: Typically 2 fixings per purlin per panel width — one near each panel edge. Follow the specific fixing pattern in the panel manufacturer’s installation manual.
- Drive torque: The EPDM washer must compress to form a seal but NOT over-compress (which damages the washer and panel coating). Use drill clutch settings — practice on a sample first.
- Through-fix vs concealed: Standard facade panels use through-fix (screw heads visible on exterior). Commercial flat-profile panels may use concealed fixing for clean appearance.
Step 6: Installing subsequent panels — the joint
The tongue-and-groove joint between panels is central to sandwich panel installation quality:
- Engagement: Slide the new panel’s groove over the installed panel’s tongue. The joint should engage smoothly without forcing.
- Sealant: Apply a continuous bead of butyl sealant in the joint groove before engaging the next panel. This creates the weather seal.
- Alignment: Check that the new panel is level with the previous panel — no step at the joint. Adjust before fixing permanently.
- Pressure: The joint should be tight with no visible gaps. If gaps appear, the panels may be out of plumb or the structure may be misaligned — investigate before continuing.
For cold room panels with cam-lock joints, the process is different — see our cold room installation guides.
Step 7: Openings — doors & windows
Cutting openings in installed panels for doors and windows during sandwich panel installation:
- Mark carefully: Use chalk or masking tape to mark the exact cut line. Measure twice, cut once.
- Cut with a jigsaw or nibbler: NOT an angle grinder. Cut from the inside face if possible to protect the exterior coating.
- Seal the exposed core: Immediately seal all cut edges — exposed foam core absorbs water if left unprotected. Apply flashing or sealant to the cut edge within the same work shift.
- Frame integration: Door and window frames should be pre-ordered to match panel thickness. The frame overlaps the panel edge and is sealed with compressible foam tape and sealant.
Step 8: Corner, eave & ridge flashings
Flashings complete the sandwich panel installation by sealing all edge conditions:
- External corners: Pre-formed corner flashings in matching RAL color. Fixed with rivets through the flashing into the panel. Continuous sealant bead behind the flashing.
- Internal corners: Similar to external but with reverse angle profile.
- Eave (top of wall): Eave flashing connects the wall panel top edge to the roof panel overhang. Critical weather seal — requires careful sealant application.
- Ridge (roof peak): Ridge cap flashing covers the joint between two roof panel slopes.
- Parapet: Coping flashing on parapet walls sheds water away from the panel edge.
All flashings should be from the same supplier as the panels to guarantee color match and dimensional compatibility. Explore our complete accessories range.
Step 9: Sealant & final weatherproofing
The final weatherproofing pass in sandwich panel installation:
- All flashing overlaps: Check that sealant is continuous behind every flashing. No gaps, no dry spots.
- Panel base: Verify base flashing sealant is compressed and continuous.
- Penetrations: Any pipe, cable, or duct penetrations through panels must be sealed with appropriate collars and sealant.
- Screw heads: Visual check that all EPDM washers are correctly compressed — not under-tightened (leaks) or over-tightened (damaged).
- Sealant type: Use only manufacturer-recommended sealants. Silicone, butyl, and polyurethane sealants have different applications. Do not substitute.
Step 10: Inspection & handover
The final step in any sandwich panel installation guide — systematic inspection:
| Inspection item | What to check |
|---|---|
| Panel alignment | All panels plumb, level, and aligned at joints — no steps or offsets |
| Joint quality | All tongue-and-groove joints fully engaged, sealant continuous |
| Fixing quality | All screws driven straight, EPDM washers correctly compressed |
| Flashing installation | All corners, eaves, ridges flashed and sealed. Color match OK |
| Openings | All door/window frames sealed. No exposed foam core at cut edges |
| Sealant completion | All joints, flashings, and penetrations sealed. No gaps |
| Surface condition | No scratches, dents, or coating damage. Protective film removed |
| Drainage | Gutters and downpipes installed and connected. Water flows freely |
| Documentation | Installation record photos taken. Warranty documentation prepared |
After passing inspection, remove all protective film from panel surfaces (must be removed within 30 days of installation to avoid adhesive residue). Clean any construction debris from panel surfaces with mild soap and water. The sandwich panel installation is complete.
Common mistakes to avoid
Based on our experience supporting sandwich panel installation across Turkey and five export markets, these are the most frequent errors — and how to prevent them. According to general construction quality data from RICS construction best practice, building envelope defects are among the most common and costly construction quality issues:
- ❌ Angle grinder cutting: Destroys coating, causes rust. ✅ Use circular saw with metal blade or nibbler.
- ❌ Over-tightened screws: Crushes EPDM washer, damages panel. ✅ Use drill clutch. Practice on scrap first.
- ❌ First panel not plumb: Every subsequent panel compounds the error. ✅ Spend extra time on Step 2. Plumb-check obsessively.
- ❌ Missing sealant in joints: Water enters the joint and runs inside the building. ✅ Continuous bead in EVERY joint, no exceptions.
- ❌ Exposed cut edges: Foam core absorbs water within hours. ✅ Seal all cut edges the same day they are made.
- ❌ Installing in wind: Panels act as sails. Dangerous for crew, impossible to align. ✅ Stop work above 25 km/h wind.
- ❌ Panels stored on ground: Ground moisture damages bottom panels. ✅ Store on timber bearers, covered with tarpaulin, sloped for drainage.
- ❌ Wrong screw length: Screw does not reach purlin = no structural connection. ✅ Verify screw length covers panel thickness + 15 mm minimum purlin penetration.
For project-specific sandwich panel installation support, download our installation guides or contact our technical team. We provide remote installation support and site visits for large or complex projects.
Need help choosing the right panels? Panel Selector · U-Value Calculator. Explore panels: Facade · Roof · Cold Room · Accessories.
Read more: Core material comparison · Pricing guide.
Frequently asked questions
What tools are needed for sandwich panel installation?
Essential tools for sandwich panel installation include a cordless drill/driver with clutch, self-drilling screws with EPDM washers, spirit level (1200mm+), circular saw with fine-tooth metal blade (never an angle grinder), sealant gun, rivet gun, panel lifter or vacuum cups, and standard measuring/marking tools. Full tool list with purposes is provided in the guide above.
Can I cut sandwich panels with an angle grinder?
No. Never use an angle grinder for sandwich panel installation cutting. Grinding sparks burn the panel coating, embed hot metal particles that cause rust spots, and damage the foam core. Always use a circular saw with a fine-tooth metal-cutting blade, a nibbler, or a jigsaw. This is the most common mistake in sandwich panel installation and causes premature panel degradation.
How do I achieve a weathertight joint between sandwich panels?
Apply a continuous bead of butyl sealant in the panel groove before engaging the tongue of the next panel. Ensure the tongue-and-groove joint is fully engaged with no visible gaps. Check alignment and tighten before fixing. The sealant must be continuous with no breaks or dry spots.
What is the correct screw torque for sandwich panel fixing?
The EPDM sealing washer should compress to form a visible seal ring around the screw head, but the washer should NOT be squished flat or distorted. Over-tightening damages the washer (causing leaks) and the panel coating (causing corrosion). Use the drill’s clutch setting — calibrate by driving test screws into a sample panel and purlin assembly before starting the sandwich panel installation on the actual building.
How should sandwich panels be stored on site before installation?
Store panels on timber bearers (never directly on the ground), covered with breathable tarpaulin, and sloped slightly for rainwater drainage. Keep the protective film facing up. Store in a location accessible by the lifting equipment that will position the panels. Do not stack more panels than the manufacturer recommends. Install within 30 days to avoid protective film adhesion issues.